Company Signature Graphic
Click the button below to copy the official graphic, then follow the instructions below to paste (Ctrl+V or Cmd+V) into your Gmail signature.

Copied to clipboard!
Click the button below to copy the official graphic, then follow the instructions below to paste (Ctrl+V or Cmd+V) into your Gmail signature.
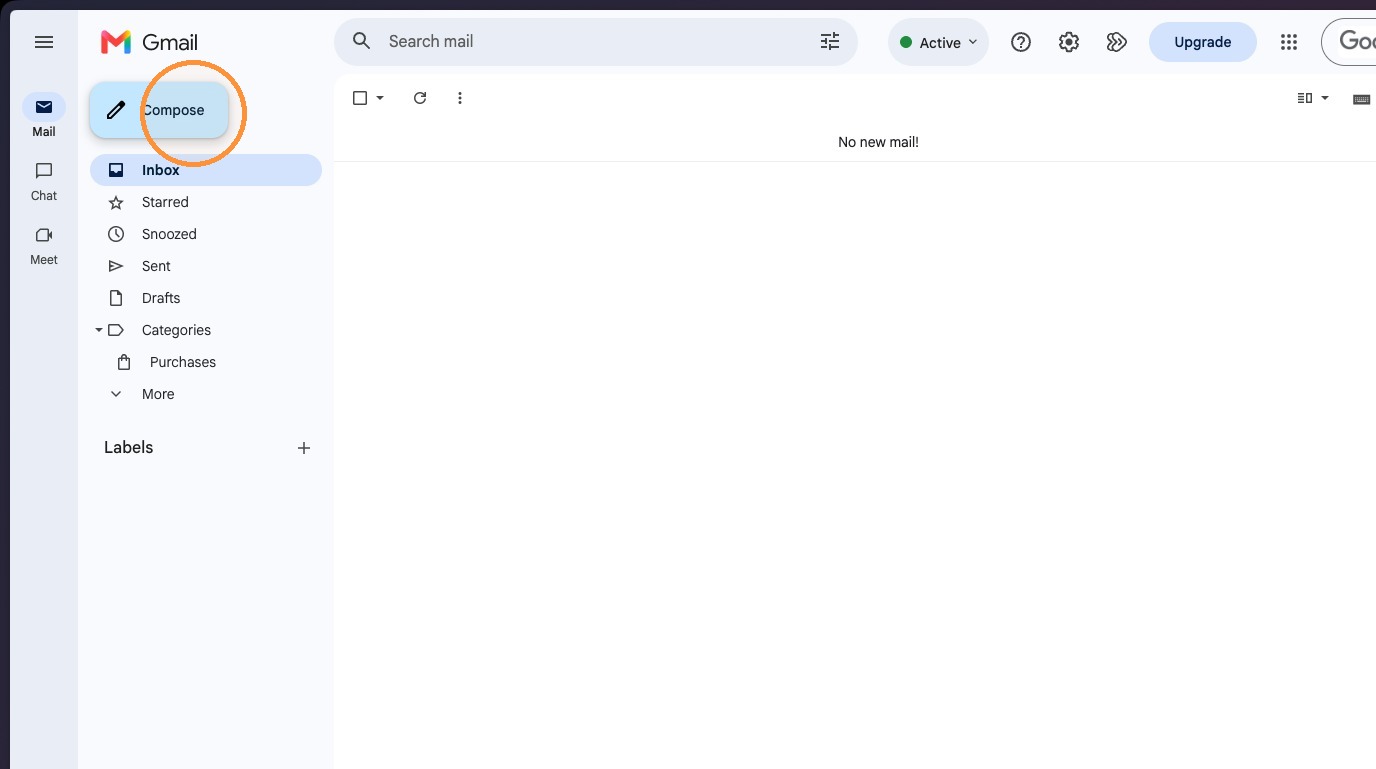
In Gmail, click the Settings gear icon in the top right header.
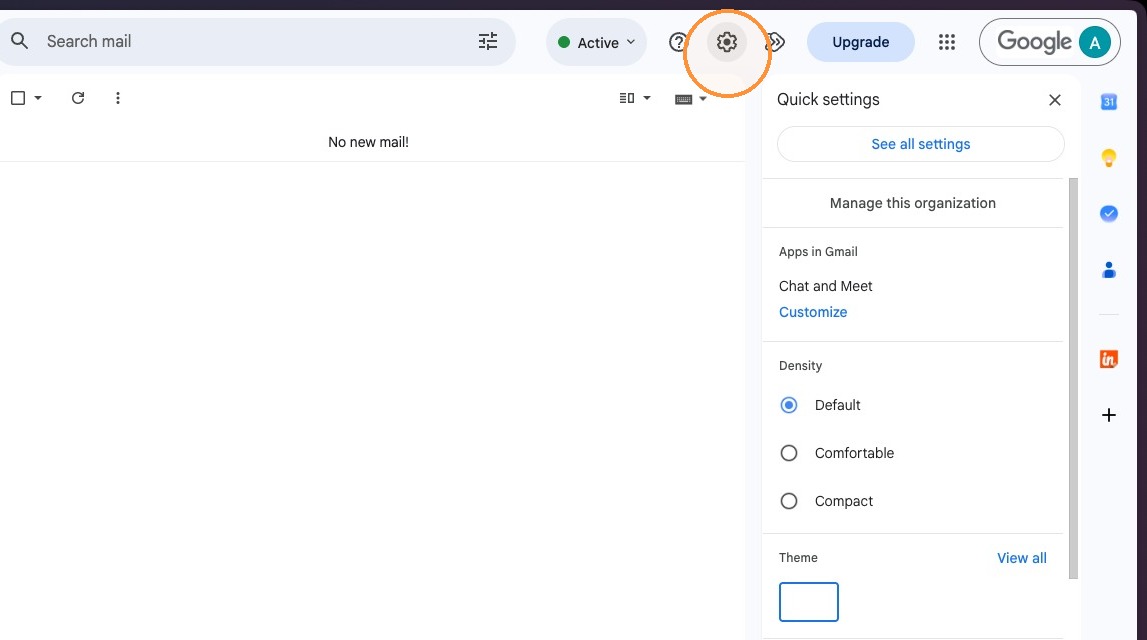
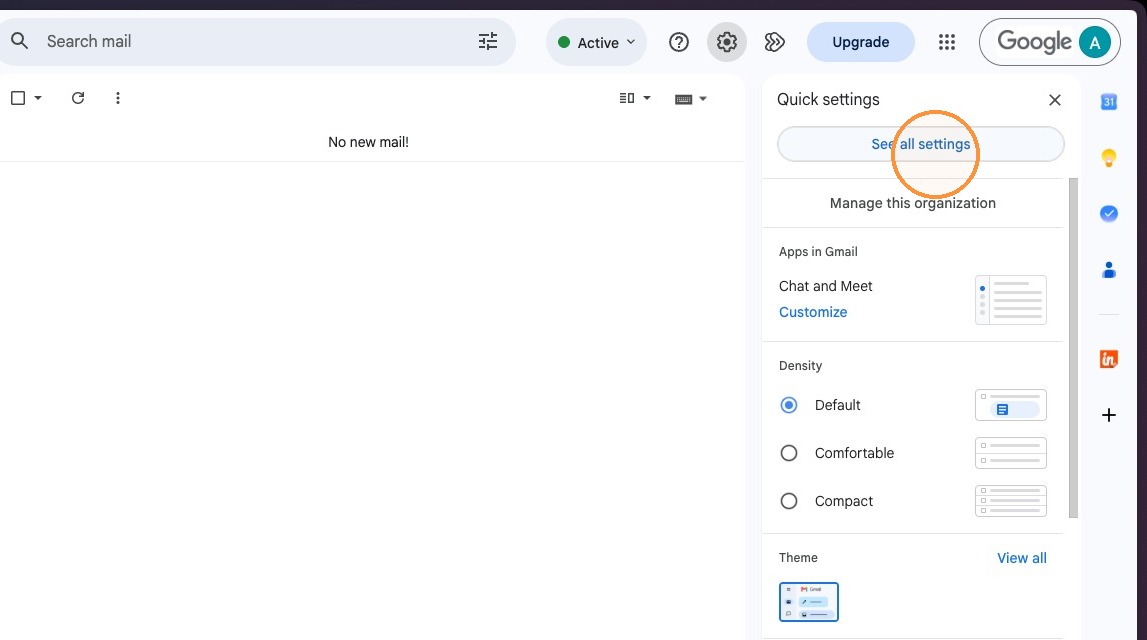
In the Quick settings panel that opens on the right, click See all settings at the top.
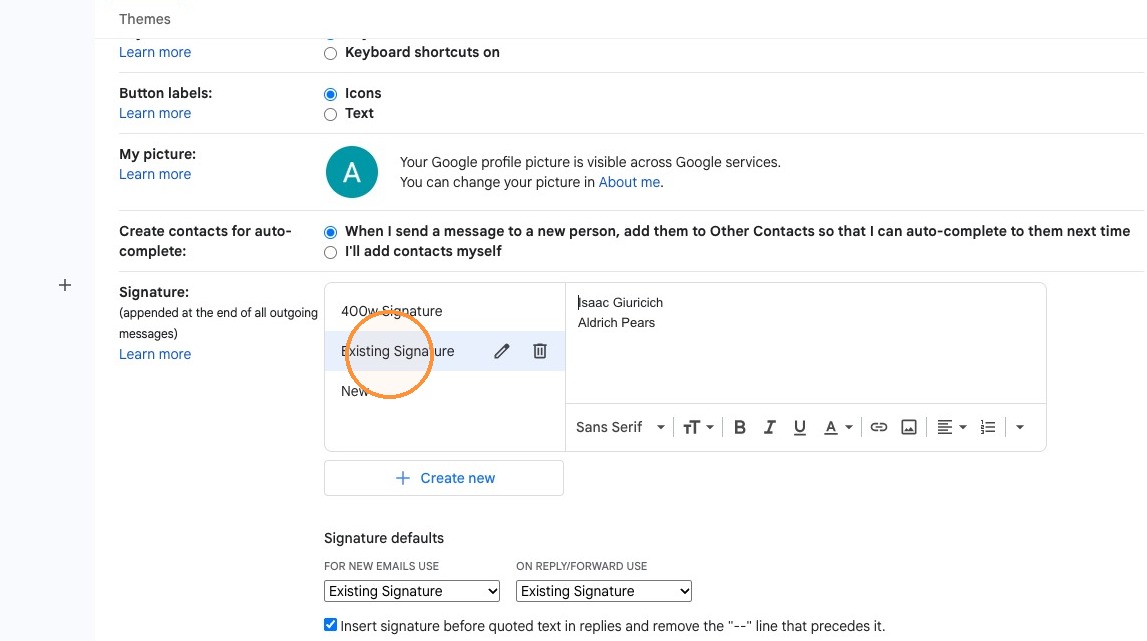
Under the General tab, scroll down to the Signature section and select your existing signature name (or click + Create new if you don't already have one).
Click the Copy Logo to Clipboard button (you can use the button above or click below):
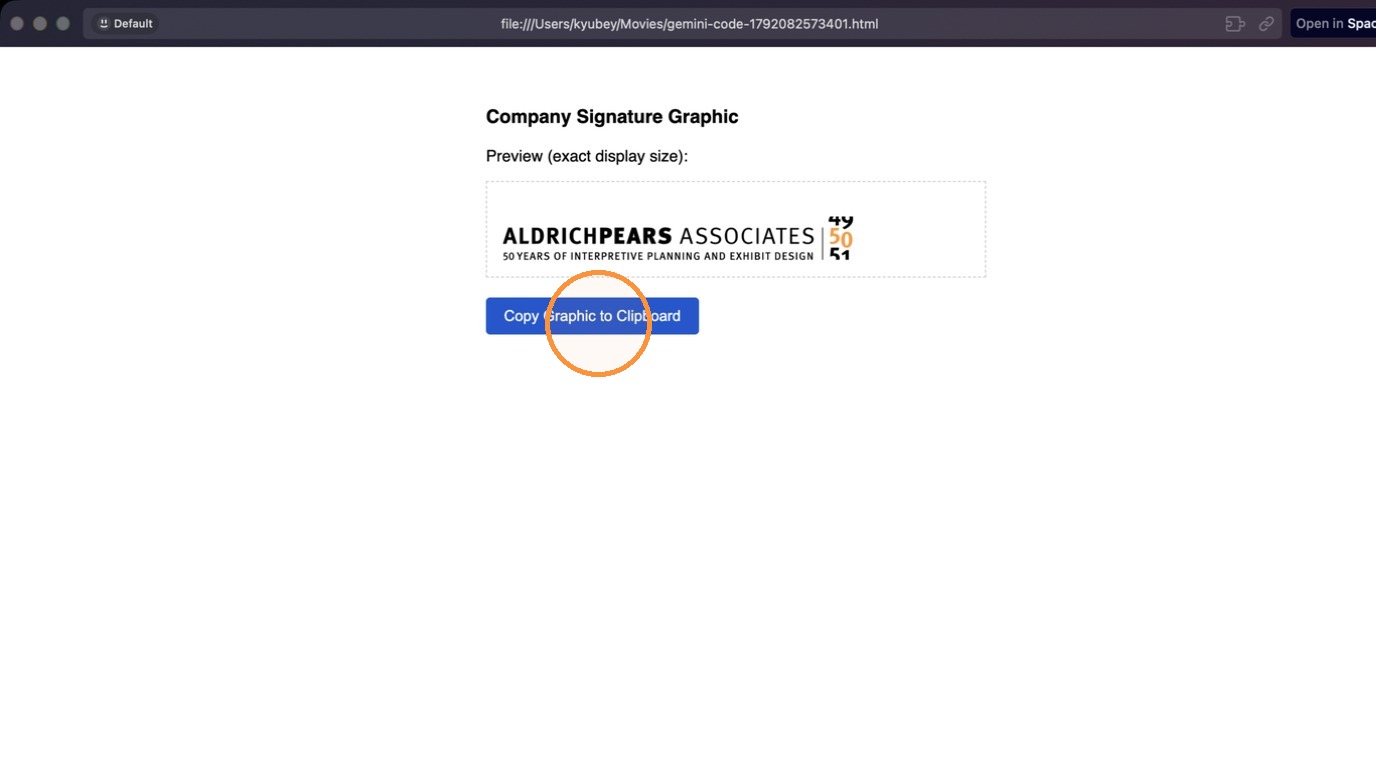
In Gmail's signature editor box, position your cursor where you want the logo to appear (e.g. directly below your contact details) and press Ctrl+V (Windows) or Cmd+V (Mac) to paste the graphic.
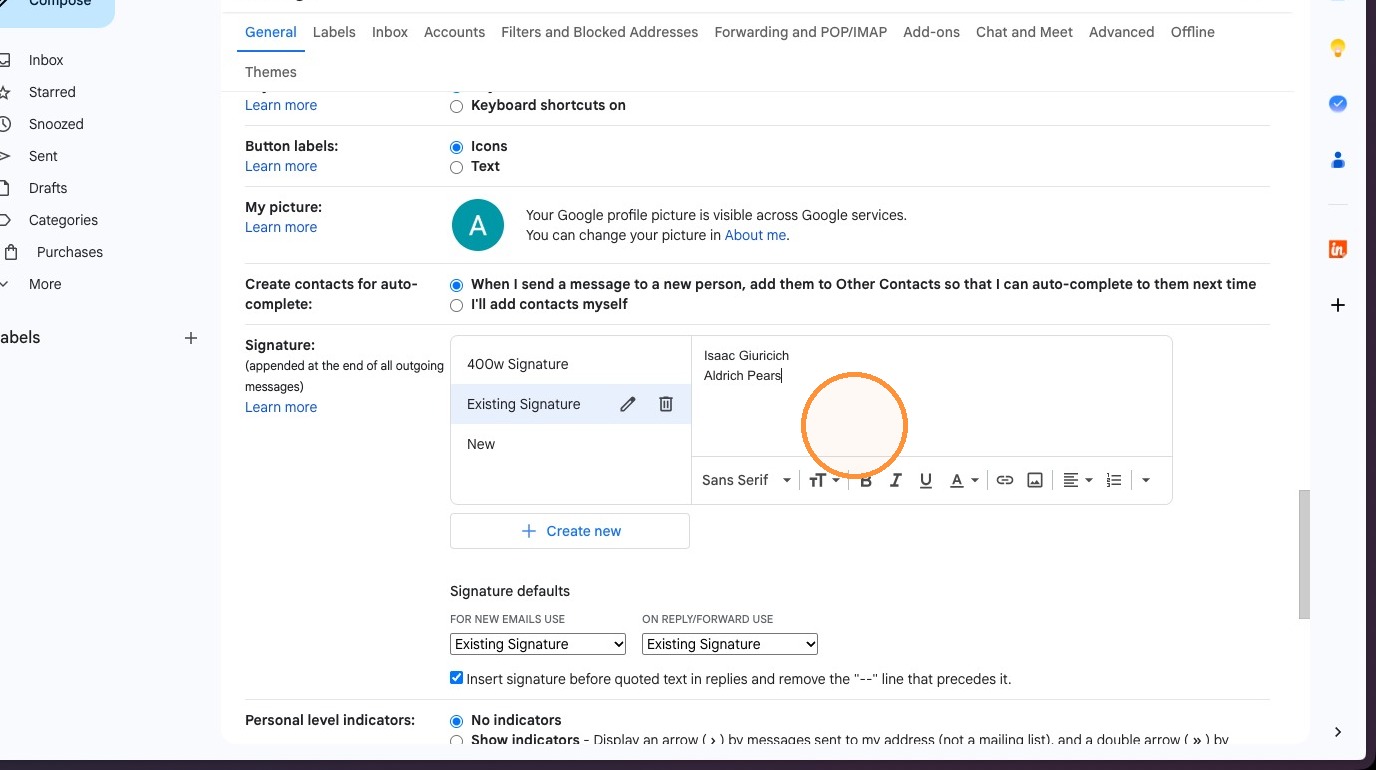
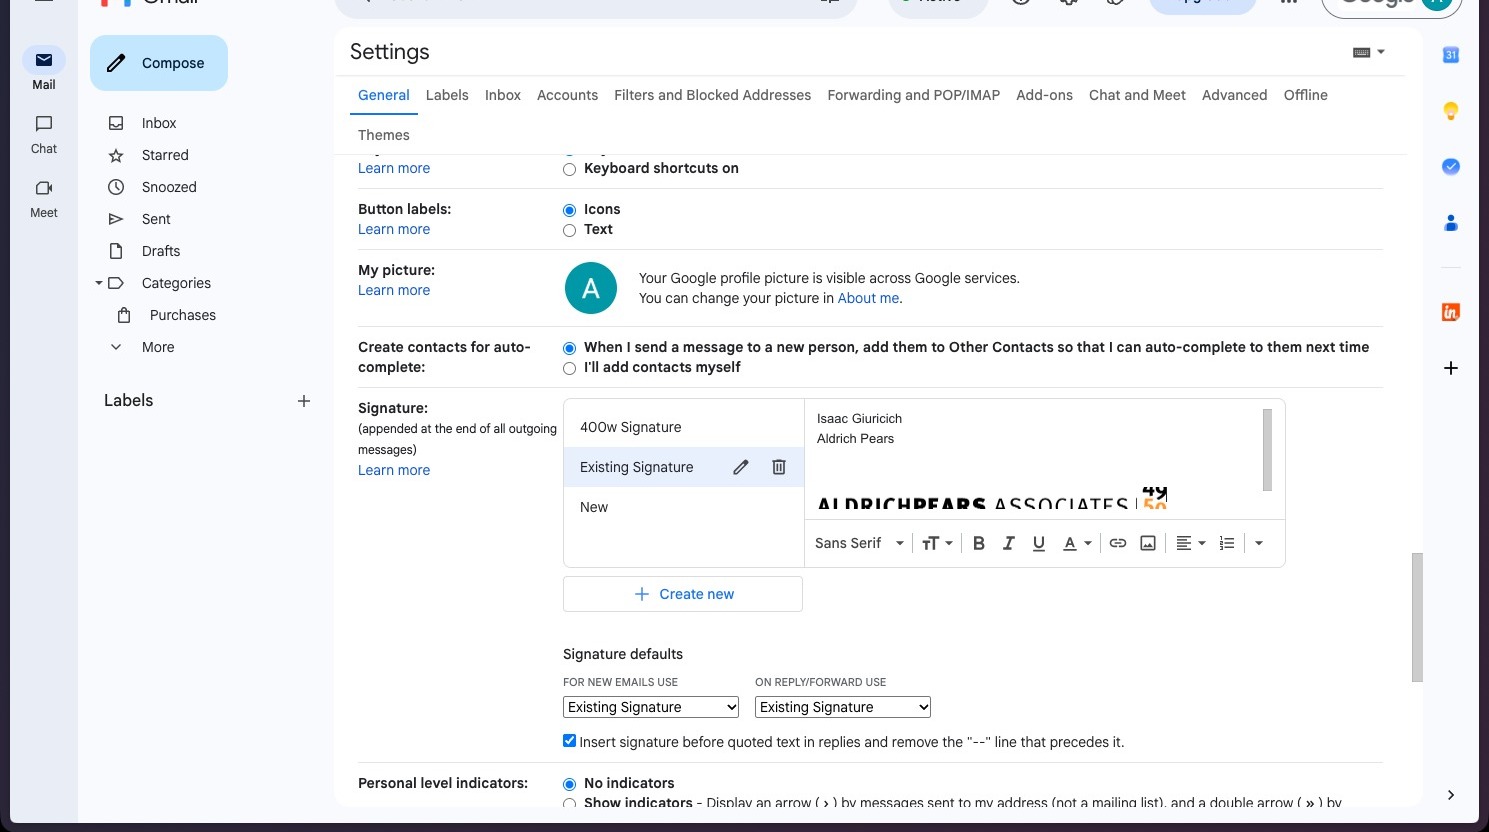
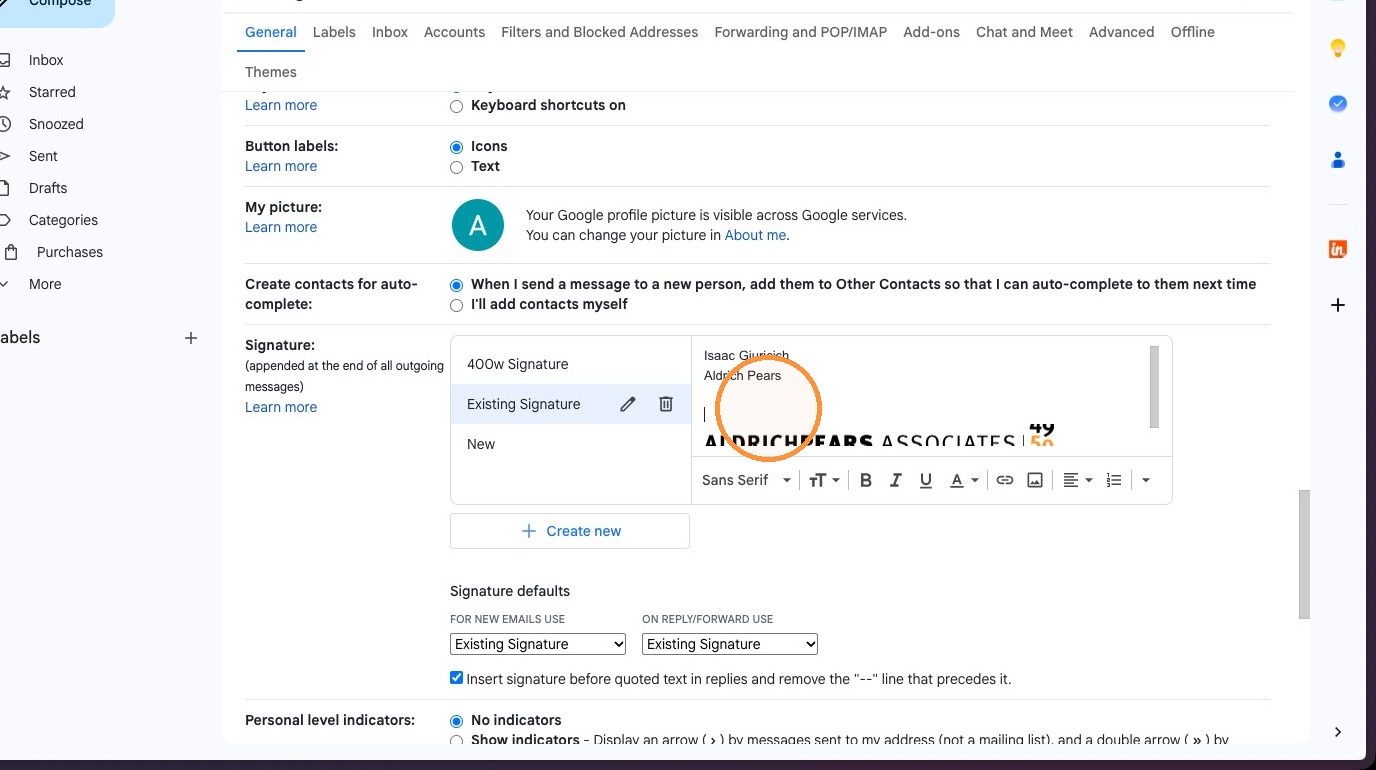
Click into the editor to ensure your text and graphic are aligned neatly.
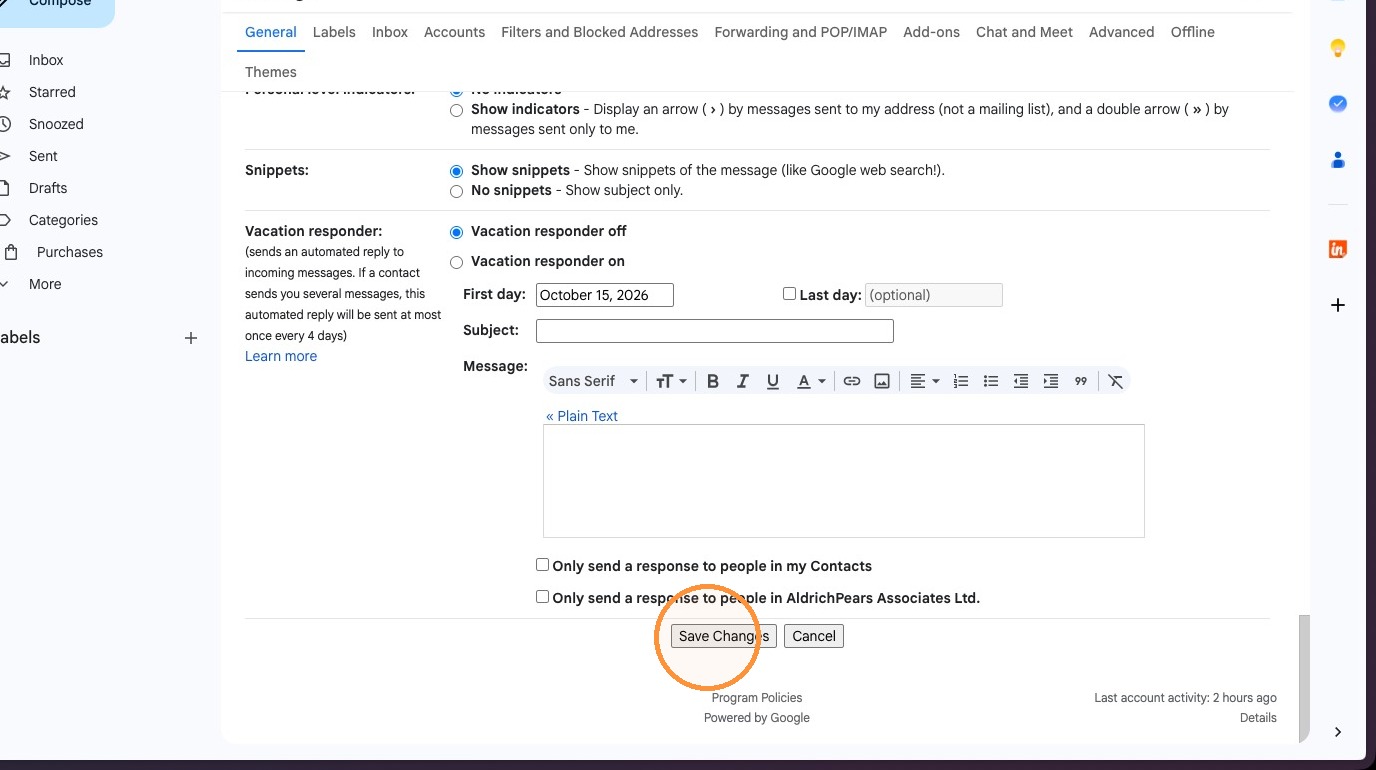
Scroll to the very bottom of the Gmail Settings page and click the Save Changes button.
Return to your inbox and click Compose in the top left. A new message window will open displaying your newly updated signature graphic.